
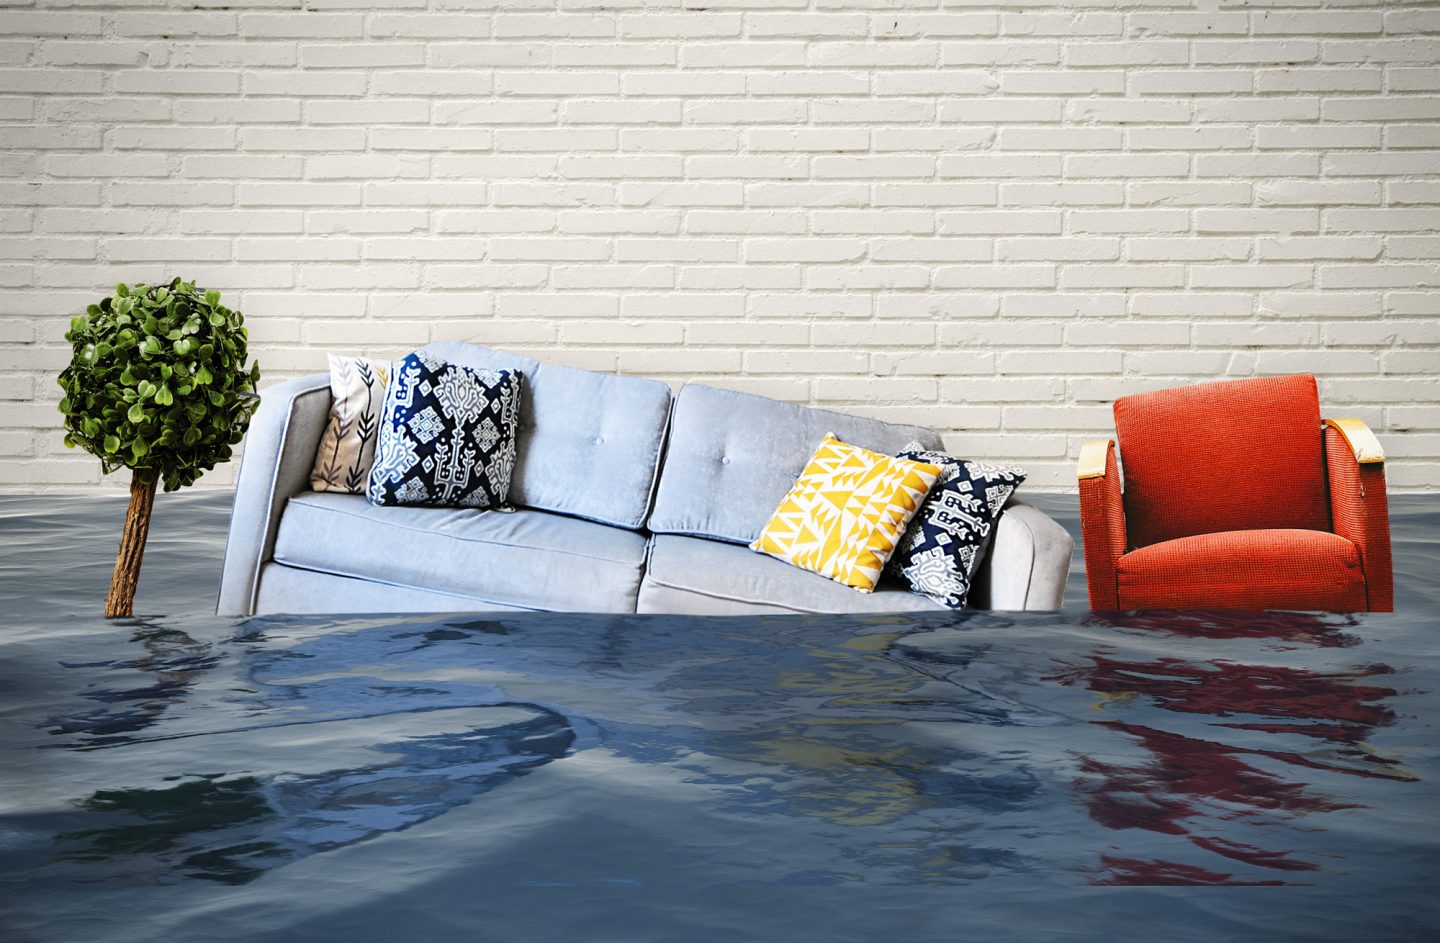
Did you know that one inch of water can cause $26,000 worth of property damage?
Needless to say, you want to avoid such a fate. Unfortunately, though, accidents happen! People suffer flooding and water damage every single year.
In the aftermath of any such incident, it’s imperative that homeowners remove the water and handle the fallout ASAP.
Want some advice on how to do it?
Read on for a step by step guide to water damage remediation.
1. Assess the Damage
The first step involves understanding the extent of the problem.
Get in touch with a specialist contractor to come and assess the scene. At the same time, give your insurance company a call and ask them to send out a claims adjuster.
Together, they’ll calculate the damage and cost of repairs.
2. Remove the Water
Getting rid of any remaining water is the next vital step.
The best method of water extraction will vary depending on circumstances though. The very reason you had water enter your property has a direct impact on how you’ll get rid of it.
Mops and buckets might be the answer to minor issues! Sump pumps and vacs might be better for more serious ones. In general, though, the contractor will recommend the best thing for the job.
3. Strip Damaged Materials and Dry Out the Rest
Parts of the house may have suffered irreparable damage.
It’s time to strip out anything that’s no longer fit for purpose. Common examples include things like insulation, carpets, furnishings, wallpaper, and so on.
Organize a dumpster, or something similar, to dispose of it all appropriately.
From there, you’ll need to dry out what’s left. This is a key step! Let it stay wet for too long and you’ll suffer a build-up of dangerous mold and mildew. You might require specially-designed blowers and dehumidifiers to facilitate this process.
4. Clean and Disinfect the Area
Having cleared the area and dried it out, it’s time to disinfect it.
Remember that the flooding might have brought up sewage contents into the house. It goes without saying how important it is to clean surfaces thoroughly after dirty water has been inside.
Work hard to clean, disinfect, and apply a non-toxic mold control treatment to areas that were affected by the water. Don’t, and you can only expect the mold/mildew we mentioned above to start forming.
5. Start the Renovation
The final step of water damage restoration is to get your home looking as good as it did before.
With the help of a contractor, you’ll be able to patch up the holes, fix up the flaws, and get everything back to its best.
See it as an excuse to do the remodel you’ve thought about for so long! Make the most of the building site and make your property even better than it was before.
Time to Handle Your Water Damage Remediation
No homeowner wants to suffer at the hands of water damage.
The repairs involved can be expensive, inconvenient, and time-consuming to get sorted.
The good news is that the process of water damage remediation doesn’t have to be too difficult. Hopefully, this post will help you do it.
Need professional support for the task? Contact us today.